In this blog and associated video, we’ll dig into the Spark workspace settings. First we’ll discuss what workspaces are in relation to Spark, then we’ll dig into the Spark settings to give you an overview.
As with all our blogs and video’s, we strongly advise you to take this material as a starting point and try things out for yourself. There’s absolutely no substitute for your own experience.
What are workspaces?
You can see a workspace in Microsoft Fabric as a logical container for all your resources. For those coming from an Azure background, you can compare it with a Resource Group. If you’re coming from SQL Server, the analogy is much harder but let’s go with instance. In all these cases, you need the permissions to see the resources and, depending on your permissions, you can either read, work with them and/or administer them.
Where to find them
Let’s start from the role of an administrator. You can click the wheel at the top right of the screen and select the Admin portal from the options shown.
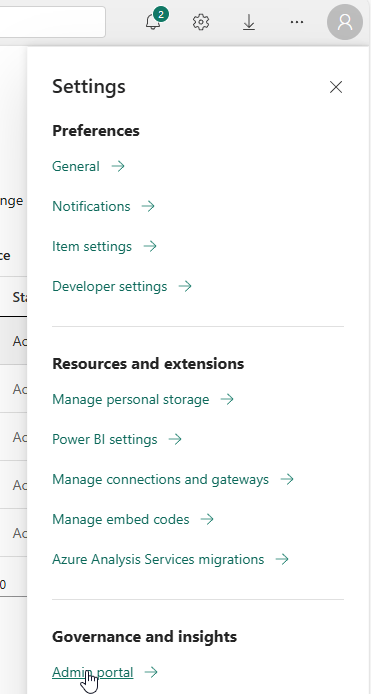
In the admin portal, there are many options, let’s start with the obvious workspaces one.
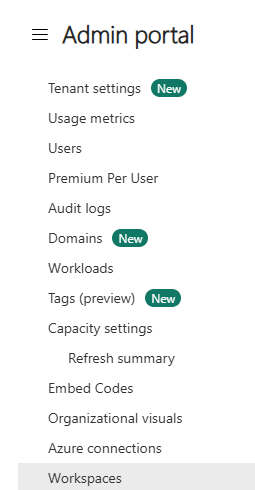
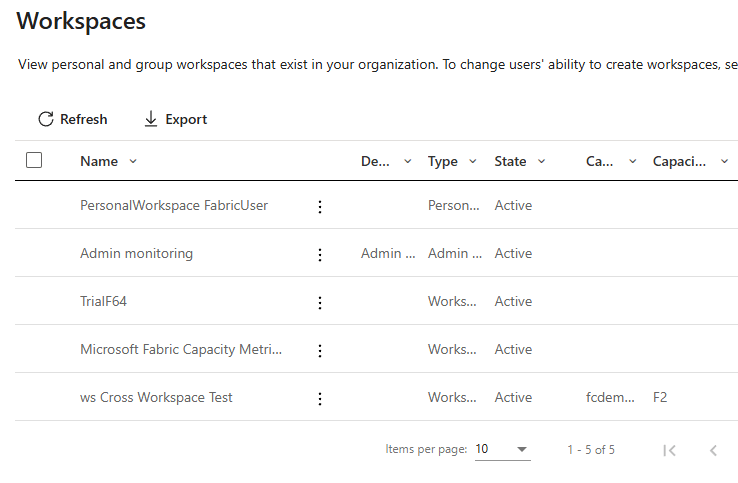
When you click here, you see an overview of all the workspaces you’re allowed to see. As an Administrator, it’s my experience you can see all the workspaces, including the ones you do not have access to.You won’t see them in other views by the way, there you can only see the workspaces you’ve got access to.
Details
Now we would like to get some more details of this workspace, so let’s dig into that a bit more.
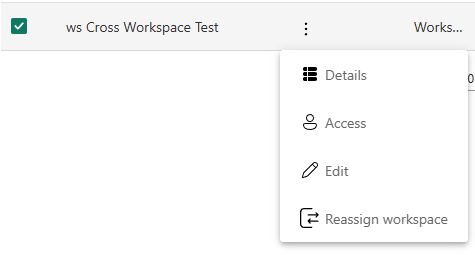
The details show me, in this case, this information.
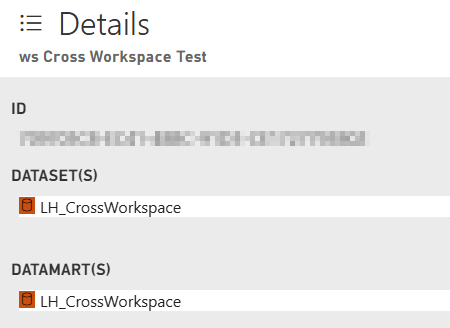
Interesting as this can be, it’s not exactly what I was looking for. All the other settings will be covered in a later blog on managing your Fabric environment.
From the main menu bar
In the main bar on the left, you can find your workspaces too.
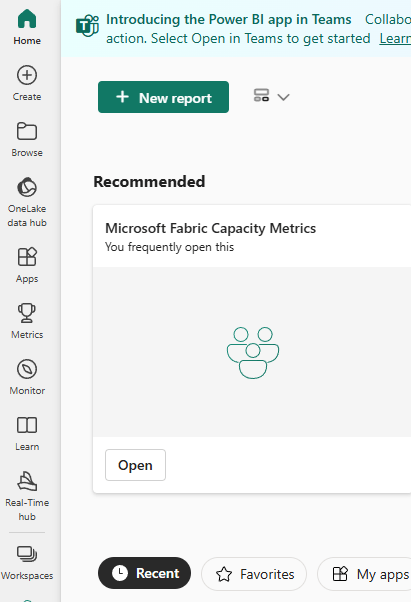
Click on the workspaces to open a blade showing you the workspaces you have access to.
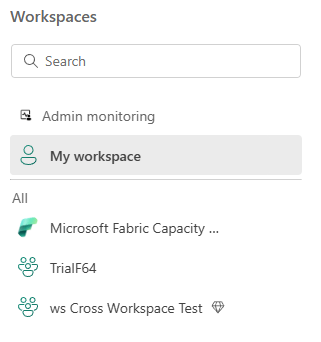
Remember there’s a difference between the workspaces you have access to and the My workspace where only you have access to. Try to refrain from developing anything in that specific workspace if you want to share it with anyone else.
Workspace settings
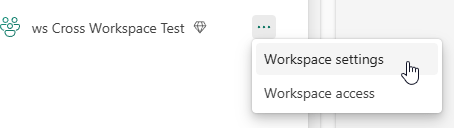
If you select your workspace from this menu, you’ll see the following blade.
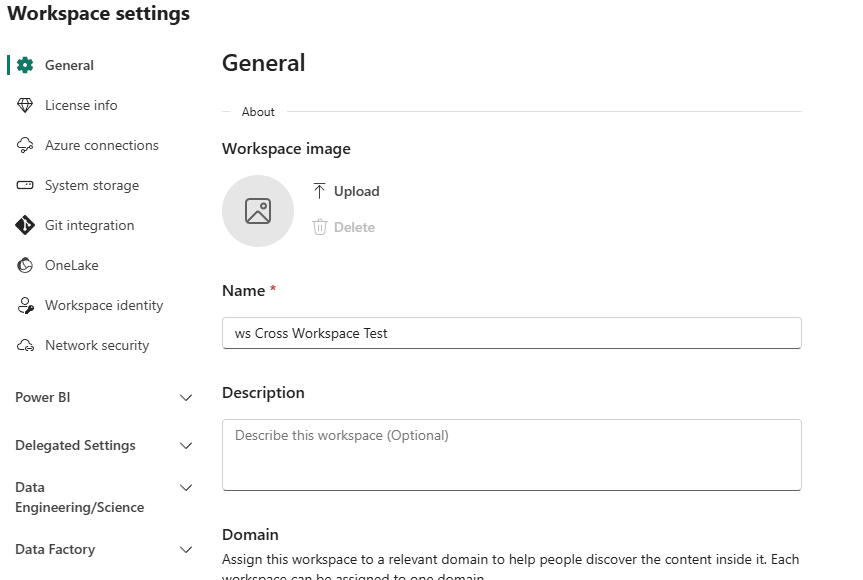
There’s a lot to administer here, but let’s focus on the spark settings.
Error message
If you open the workspace settings, you might run into this error message.
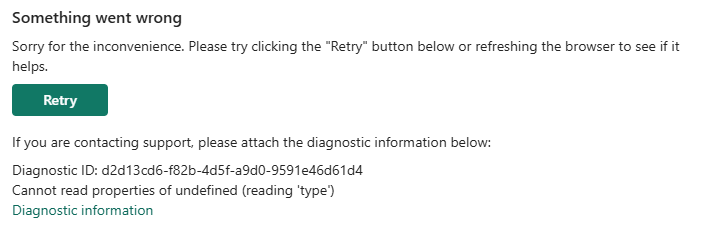
When you click on the Diagnostic information link, you might see a message like this.
{
  "name": "TypeError",
  "message": "Cannot read properties of undefined (reading 'type')",
  "stack": "TypeError: Cannot read properties of undefined (reading 'type')\n    at https://content.powerapps.com/resource/powerbiwfe/extension/des/settings.fc28f162917f6ed70d26.js:5:611418\n    at ri (https://content.powerapps.com/resource/powerbiwfe/extension/des/bundle.vendor-react.7c83576941e8090f9e14.js:6:162246)\n    at Ss (https://content.powerapps.com/resource/powerbiwfe/extension/des/bundle.vendor-react.7c83576941e8090f9e14.js:6:182191)\n    at is (https://content.powerapps.com/resource/powerbiwfe/extension/des/bundle.vendor-react.7c83576941e8090f9e14.js:6:174584)\n    at Aa (https://content.powerapps.com/resource/powerbiwfe/extension/des/bundle.vendor-react.7c83576941e8090f9e14.js:6:115872)\n    at https://content.powerapps.com/resource/powerbiwfe/extension/des/bundle.vendor-react.7c83576941e8090f9e14.js:6:181023\n    at ws (https://content.powerapps.com/resource/powerbiwfe/extension/des/bundle.vendor-react.7c83576941e8090f9e14.js:6:181028)\n    at as (https://content.powerapps.com/resource/powerbiwfe/extension/des/bundle.vendor-react.7c83576941e8090f9e14.js:6:173592)\n    at k (https://content.powerapps.com/resource/powerbiwfe/extension/des/bundle.index.d527a2f0d942beaca529.js:6:212560)\n    at MessagePort.M (https://content.powerapps.com/resource/powerbiwfe/extension/des/bundle.index.d527a2f0d942beaca529.js:6:213092)"
}
This might not make much sense, but the first thing to check is if your capacity is up and running. In my case, it was down.
Starting the pool resolved the issue and shows the following.
At the top you can see five different options, let’s go through them one by one. As this hits the core of what Microsoft wants you to know about, the links to the docs are included here for your further reading and review. This blog won’t try an repeat what’s in there but add some experience to it.
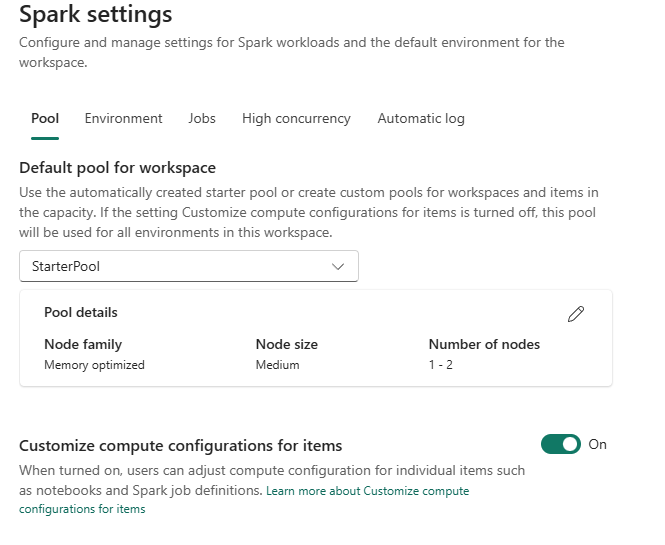
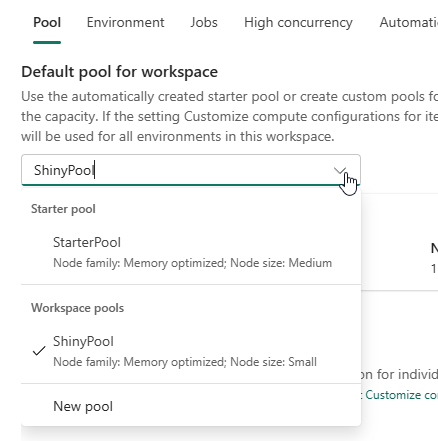
Pool
The pool is the first option that shows and will give you an overview of available pools for the workspace. It will give you the option to set a default pool for your workspace and provide the option to create your own pool.
The difference between a starter pool and your pools created by yourself are that a starter pool is always ready to go and a custom pool needs some time to be allocated, warmed up and get ready to do work. Click here for more info on the starter pool
This last option is quite interesting as you might find during projects that it’s quite hard to share the same pool between people at the same time. If you’re running on a F2 capacity, creating multiple pools to share between people is possible but with 4 spark cores it will get quite hard to do so, especially as the smallest pool will consist of 4 cores.
The funny thing is, Microsoft states that two spark VCores equal one capacity unit. This means that the F2 has two CU’s equalling four spark VCores. Expand this to the F64 and you would expect 128 Spark VCores. And you’d be wrong according to this link. It clearly states that you have 384 Spark Vcores at your disposal. Three times more than you’d expect from the initial calculation. That is because bursting can kick in, giving you the option to run at three times capacity. Click here to read more.
Some advice, don’t plan on the bursting as you need to pay back the overusage at some point and that can hurt a lot during business hours. Try and keep between the default lines and create your custom pool.
Create the custom pool

When you click on New pool you get a new window.
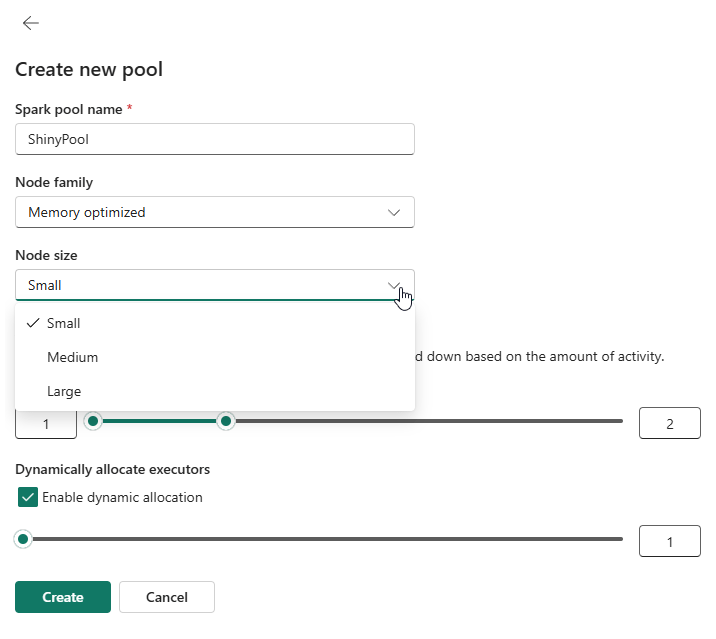
Here you can give the pool a nice, recognisable name and a size. Decide if you want to auto scale and dynamically allocate executors and click create. The autoscaling can give you better performance during execution but can come at a price. The number of executors can help decide if the data volume requires more executors to process the data and thus improve performance.
Choose the default pool
When you have 2 or more pools, you can select a default one by clicking on it in the drop down menu.
Environment
Moving to the next option, the environment.
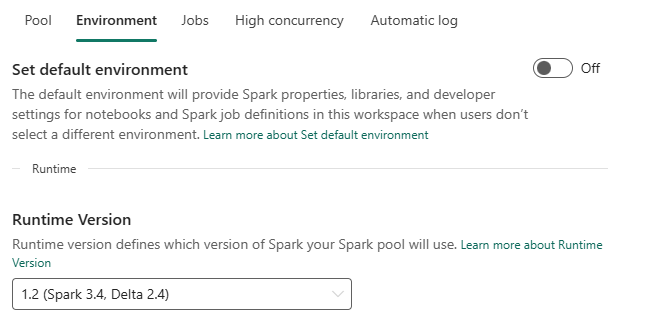
Environments can be used to make sure developers within the workspace have access to the same libraries etc without having to install them first. When you keep the switch set to off, you can select the runtime version you would like to use, more info via this link. As this is very much subject to change, please refer to the documentation provided by Microsoft.
Default environment
Switch the setting to on and your screen will change.
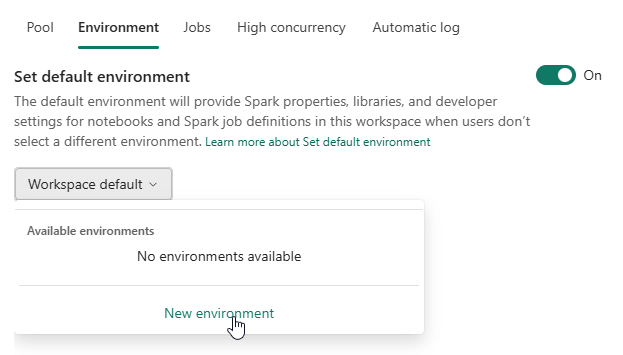
Depending on your Fabric, some or no environments may be visible. In this case, there are none. When you click on new, this happens:
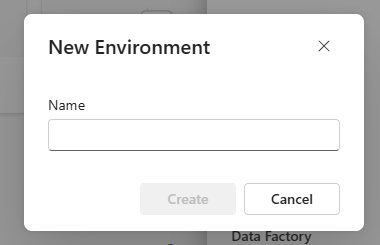
Give it a name and create it.
It will take 3 seconds and offers you the next screen.
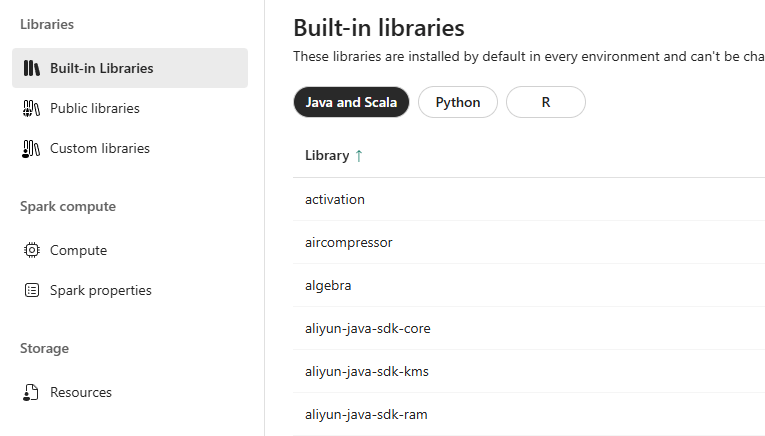
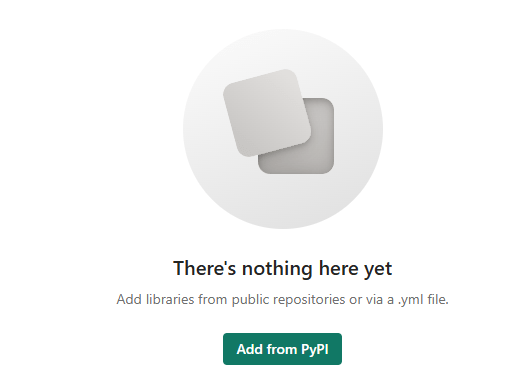
You can add your own libraries.
And change other variables like the amount of Spark cores and memory.

It even offers the option to set Spark properties.
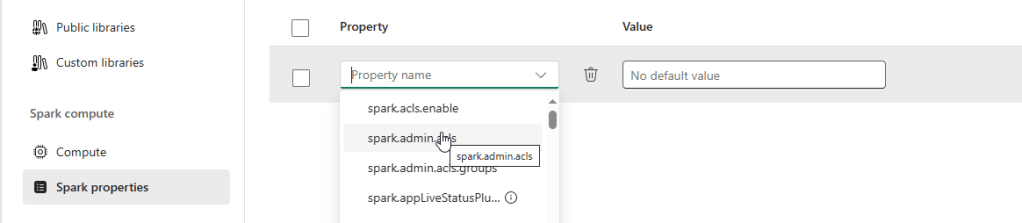
The list of properties is very, very long. Please only change settings if you really understand it’s implications. If you want to learn more about the environments, click here.
Jobs
The next set of settings has to do with jobs.
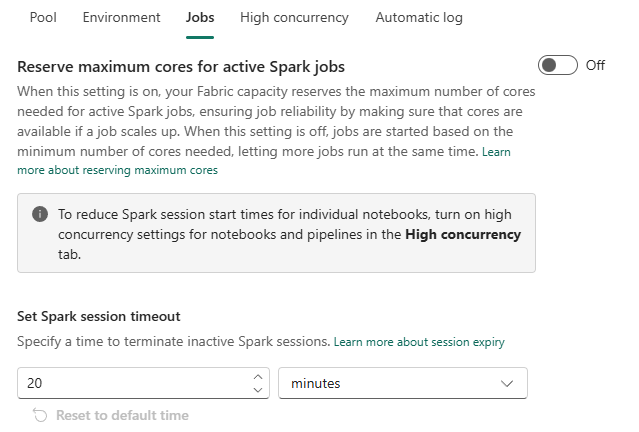
The first part of this screen is quite straightforward; you can make sure the cores remain available for your Spark jobs. A bit like the resource governor in SQL Server. The thing is, when you reserve the cores, you can’t use them for other stuff in the mean time. So if you’re looking for more concurrency, keep it off.
The second one is very interesting. The timeout setting for a session. If you’re developing and done for the day, you will keep your session for 20 minutes based on the current setting. This also means that no-one else can use those cores until the session times out or is killed. Depending on your experience, you might want to lower that number. For instance if you’re working with a small team on a F4 capacity, make the number as low as possible to give every developer a fair chance on using the available pools.
High concurrency
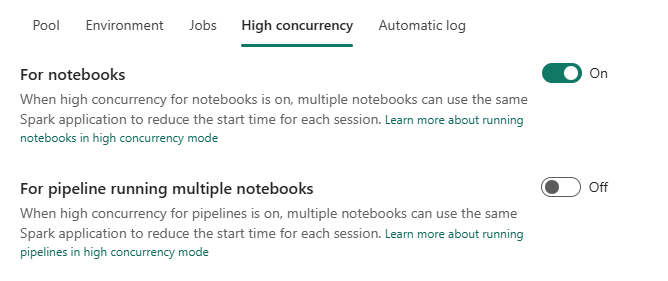
This is a really cool feature as it enables multiple notebooks to use the same Spark session. It will save you the time to start a new pool if there’s already one running for you. There are some limitations or things to keep in your mind when you want to use this. And as this is very likely to be subject to changes, here’s the link to get the latest information from Microsoft.
The second part is you can use this in a pipeline running multiple notebooks. Suppose you’re running an architecture where every target table in your Lakehouse is populated with it’s own notebook. The last thing you want is to lose 10 secondes for the starter pool to attach or 2 minutes for a custom pool to attach for each single notebook. You want to use your time efficiently. The option for this pipeline is to leverage high concurrency, meaning that you start the pool when you start the pipeline. As long as the notebooks fulfil the requirements from this link, you can start the pool once and run a large number of notebooks.
In this case, it can make a lot of sense to create a custom environment with your custom pool attached to it. It will take more time to start but if the benefits outweigh the start-up time, go for it!
Automatic log
The last one is more of an administrative setting for your Spark workspace settings.
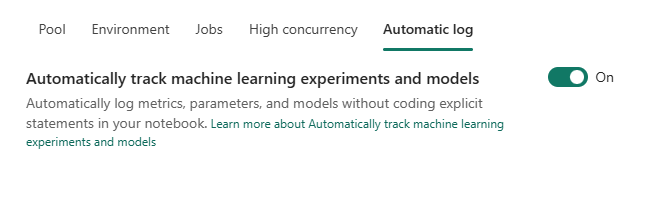
If you’re running machine learning experiments in your notebooks, you can enable automatic tracking. That’s about all this setting does and you can read more through this link. It’s a bit of an outlier looking at the rest of the settings and looking at the DP-700 certification. As it’s not specifically aimed at the AI/ML part of Fabric, I won’t expect you to get any questions on it but to be complete, here it is. And click here to learn more!
Video!
As you know, it’s not just blogs but also video’s. Check out this video created by Valerie Junk on this subject.
Done!
Congratulations, you’ve made it to the end of this instalment. We’ve covered workspaces and the Spark settings you can define within the workspaces. This blog and video won’t cover every single detail but combined with all the other blogs you can find online, it should provide you with a solid understanding of these settings.
Now, it’s up to you to log on to your Fabric environment and see how it’s configured and what might be a good setting to change (or to experiment with).
Remember, never test in production!

One thought on “DP-700 exam training: Configure Spark workspace settings”