Now that’s a title! Especially for a very cool new feature: Copilot embedded in SSMS. I’ve blogged about Copilot for SQL before, but this really is the next step! I’m very excited about this new feature, and I tried to install it on my machine. Because Microsoft can share all the steps they think you need to take, I still like to try it all out by myself.
So, let me run you through the steps. It’s not really hard, even though there are quite a lot of steps to take along the way. But don’t let that intimidate you. Especially the Azure side of things should be a process you’ll do only once. Just listen very carefully.
Install SSMS 21
Let’s begin with installing SSMS 21. Download it from the portal and make sure you do the following.

Check the box next to AI Assistance. Without it, you won’t see the menu option for Copilot. If you’ve already installed SSMS 21, you can modify the installation through the Visual Studio Installer.
Run the installer after selecting this and maybe other workloads you like to use.

While this install runs, move to the Azure portal to enable the Azure AI Service.
Create the Azure AI Service
You need an active Azure subscription. You can even create a new, free one to try it out.
Go to services in the Azure portal.

Type in Azure AI Services in the filter services bar; this will help you find the service you’re looking for.
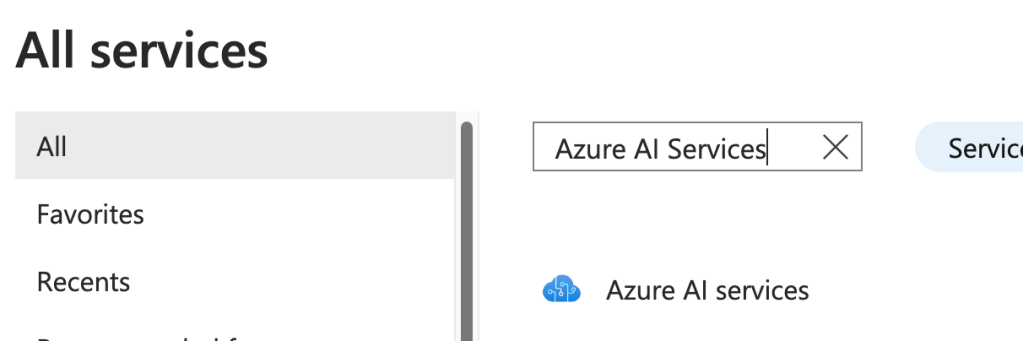
Click on Azure AI Services to open the blade with all the different underlying options. You need the Azure OpenAI account.

Azure OpenAI account configuration
Select the Azure OpenAI account.
This will open a wizard to help you go through the steps.
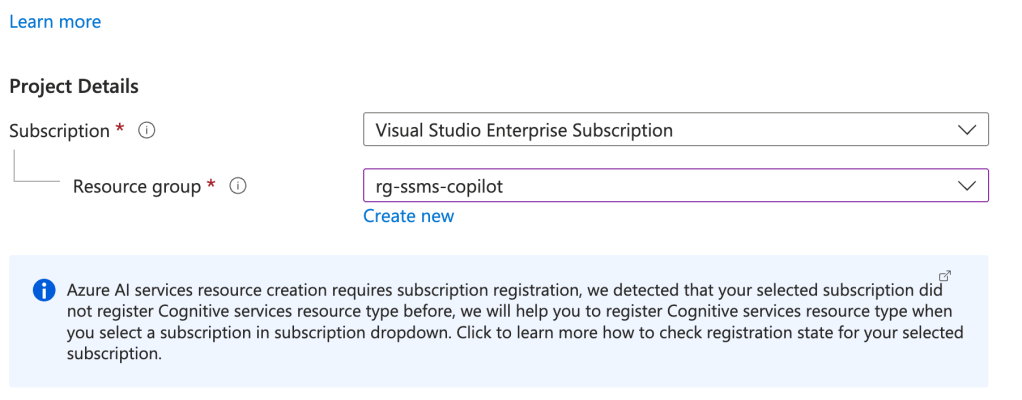
The first step is selecting (or creating) a resource group to host your service. Next, you can choose the location. Think about that one carefully because of data residency.
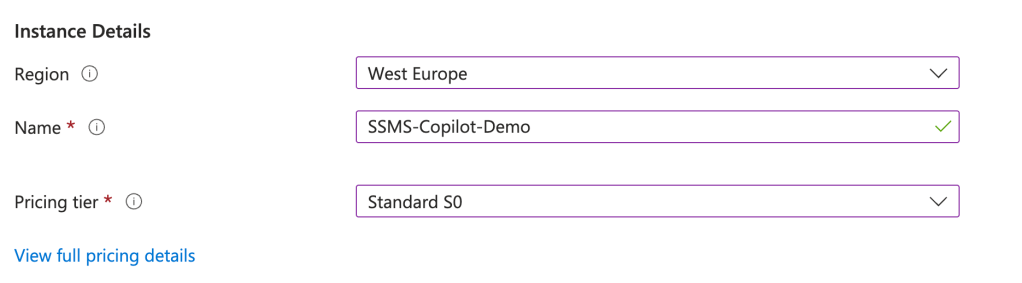
In my case, I’ve opted for West Europe. There’s only one pricing tier available (for now). Follow this link to see the pricing details in your region and currency.
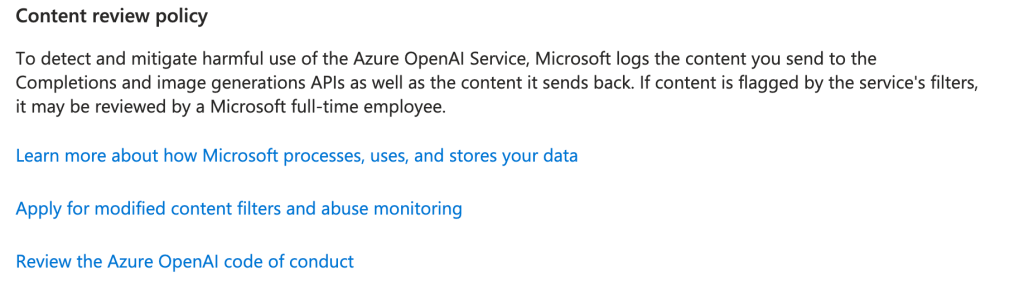
At the bottom of the page, you’ll see some more links that provide information on how Microsoft handles AI.
Networking!
Next, move over to the networking side of things.
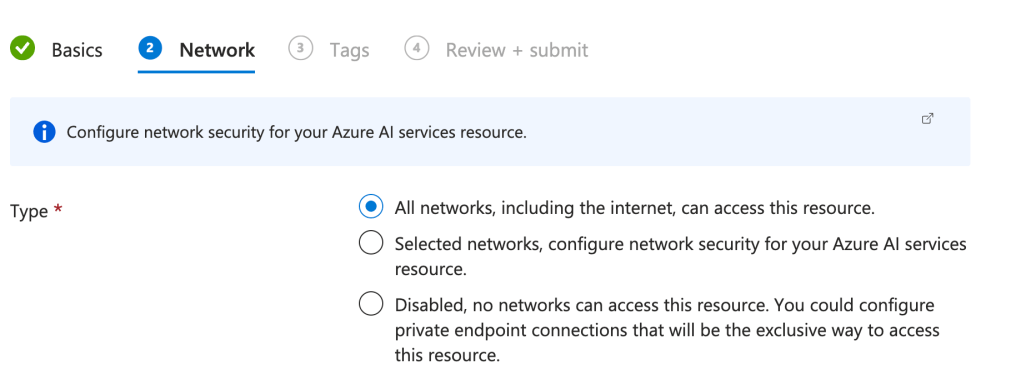
You can choose to open your service to all or restrict access. For my demo, I’ve chosen to open it to the Internet, but for real-life scenarios, I’d probably opt for the second option. Only use the last one if you want to disconnect the service from the public Internet altogether and make it available to the ‘local’ network only.
Tags
You’re it!
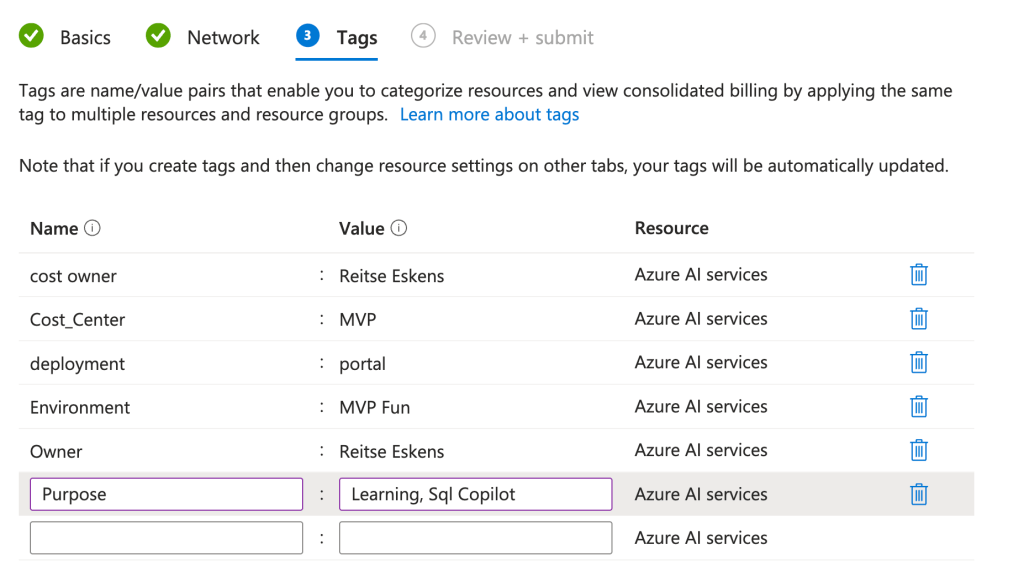
Tags are meant for ownership, cost centres, who to contact, and use cases. You can go wild with these and enter a lot of text or keep it short and clear—whatever works for you.
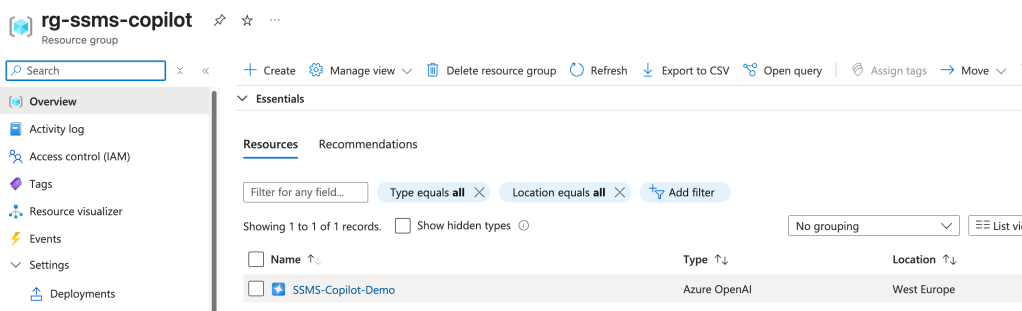
Deploying, done?
After the review and submit process, this resource took about a minute to show up. But, you’re not done yet!
There are two more things to do. First, open the pane showing the keys and endpoint in the Keys and Endpoint menu option.

You need these to connect SSMS to this service later on.
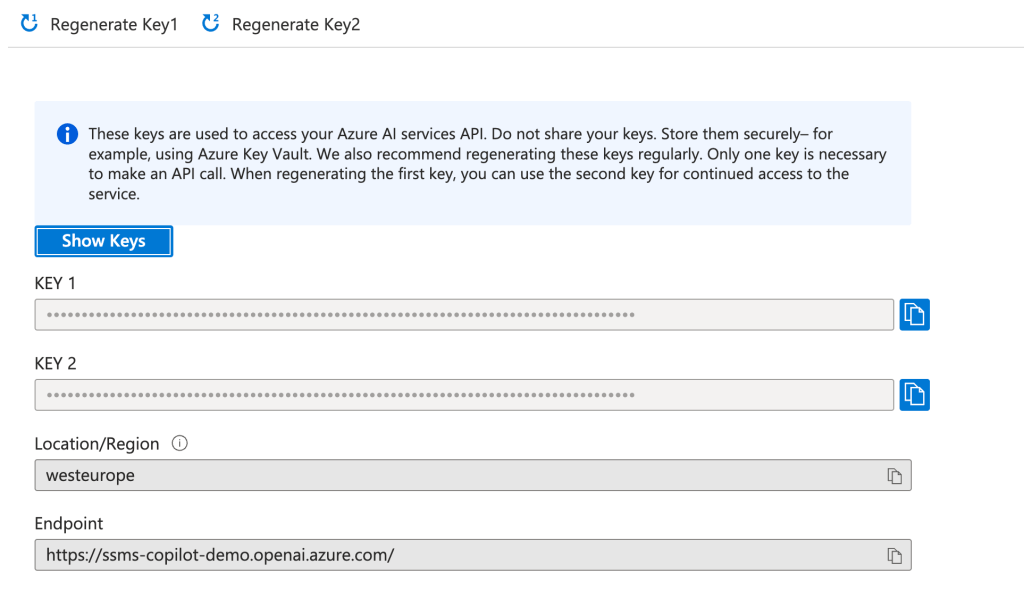
To copy the values, click on the icons next to one of the keys and the endpoint.
But just creating an endpoint does not mean you’re done. There is no Large Language Model (LLM) connected yet. So let’s do that!
Create the deployment
For the LLM, follow these steps: In the overview pane of your Azure OpenAI Service, go to Explore Foundry.
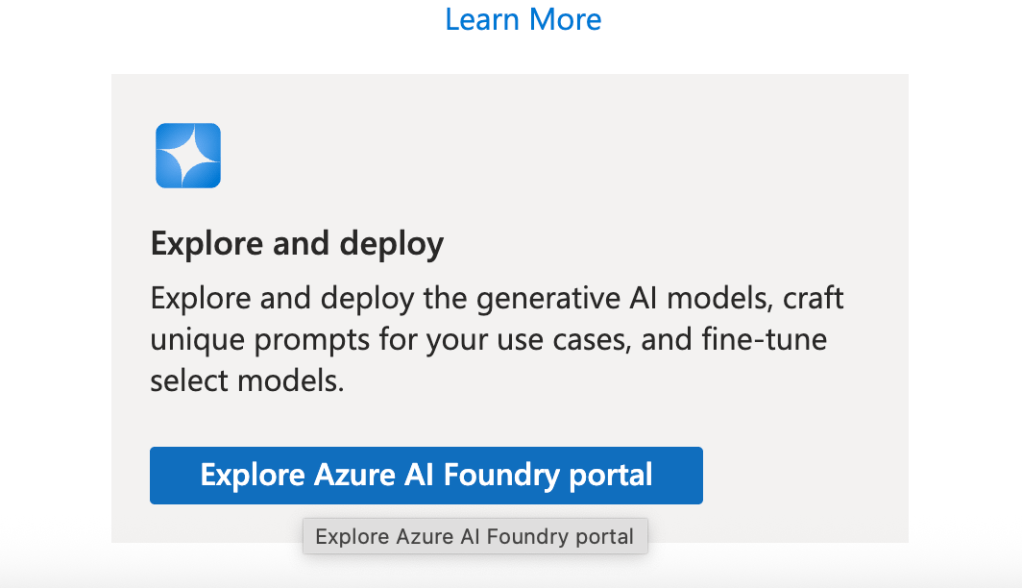
The Azure AI Foundry will open in a new window, and you’ll be presented with this.
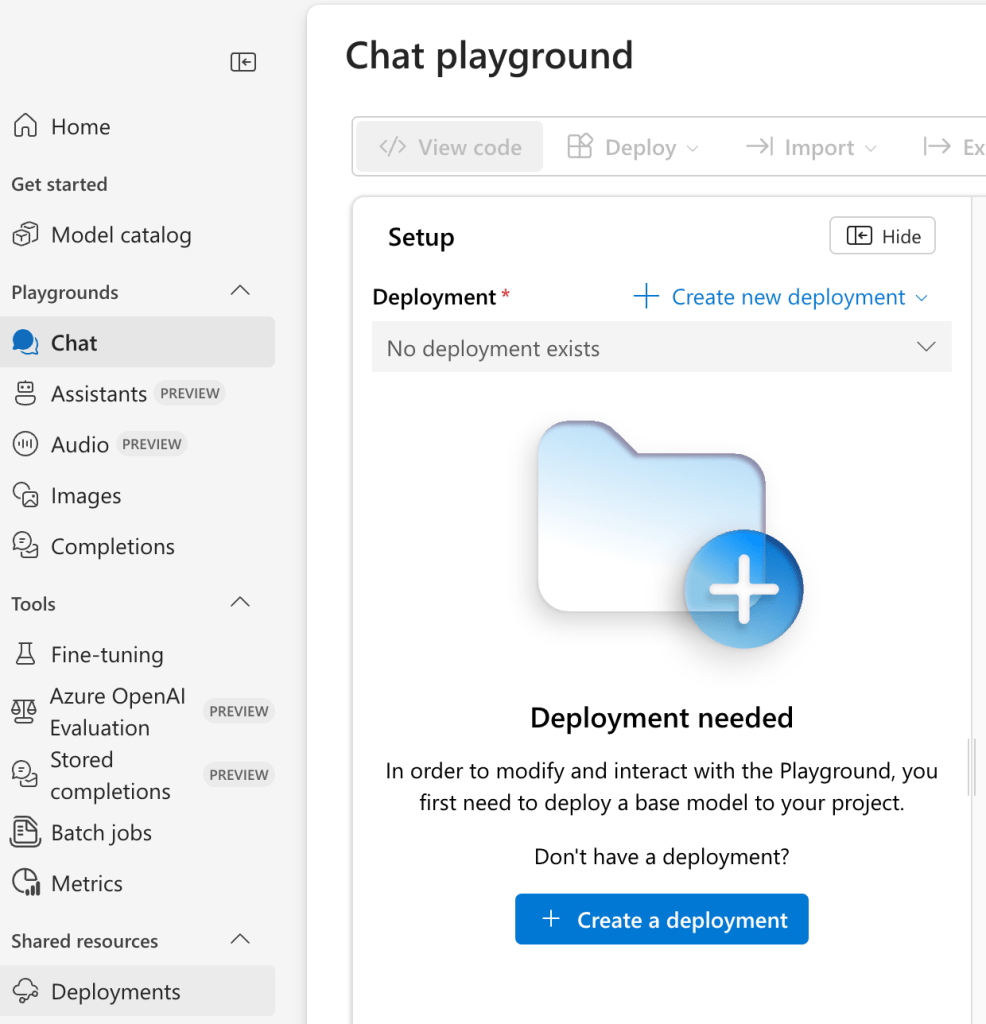
New deployment
You must go to Shared resources and then click on deployments. This will open a new pane where you can select a model to deploy.

In this preview setting, you’re requested to select a base model. Click on that option to proceed.
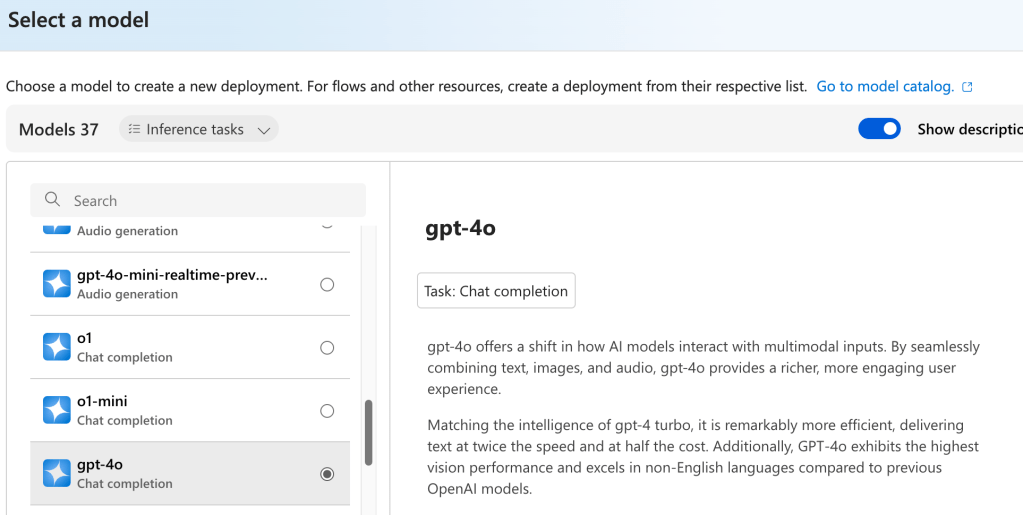
When you’re in this pane, there’s a long list of models available—37 at the time of writing this blog post. The one selected and in grey is the one you should use. GPT-4o chat completion is the one supported for this preview. I do not know if this will change later on. For now, this is what you have to work with.
Select the model to proceed.
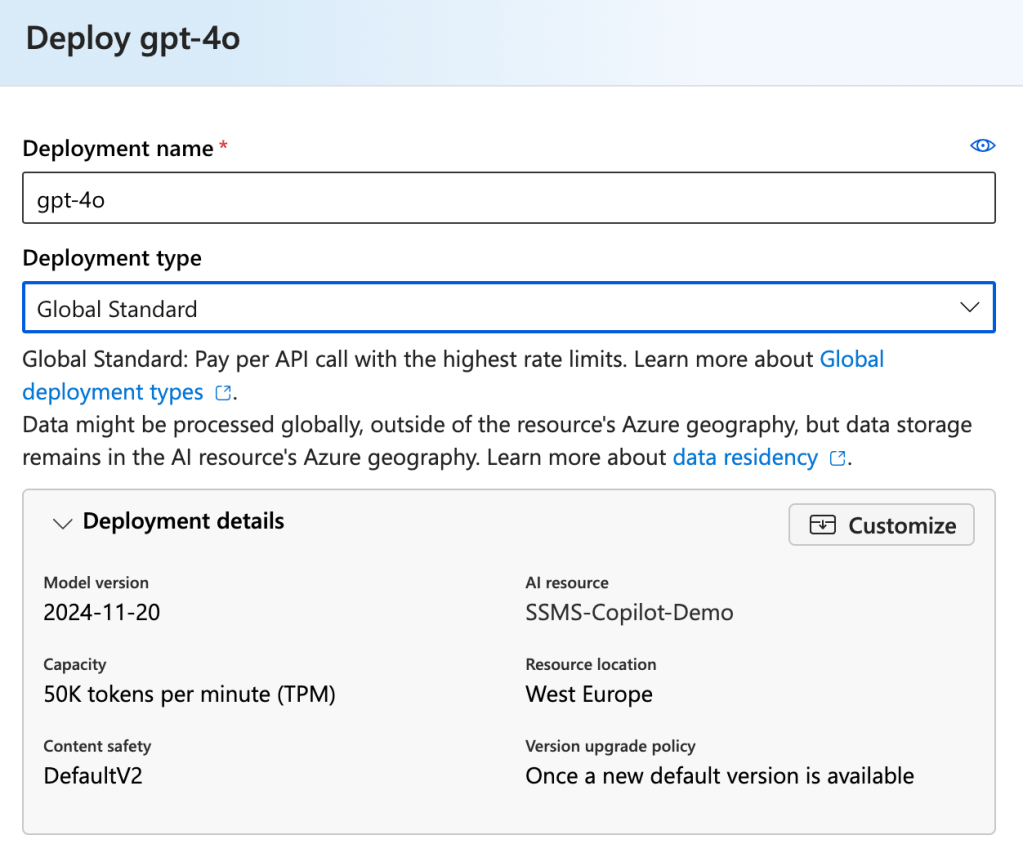
The deployment name is a free field you can use however you like. I’ve kept it to the default, just like the deployment type. According to the documentation, this is the best-performing one. If you choose another standard one, you might encounter some latency. Again, for my demos, I don’t really care, but it’s worthwhile digging into the differences of the deployment type to find out if and what matches your company’s security standards.
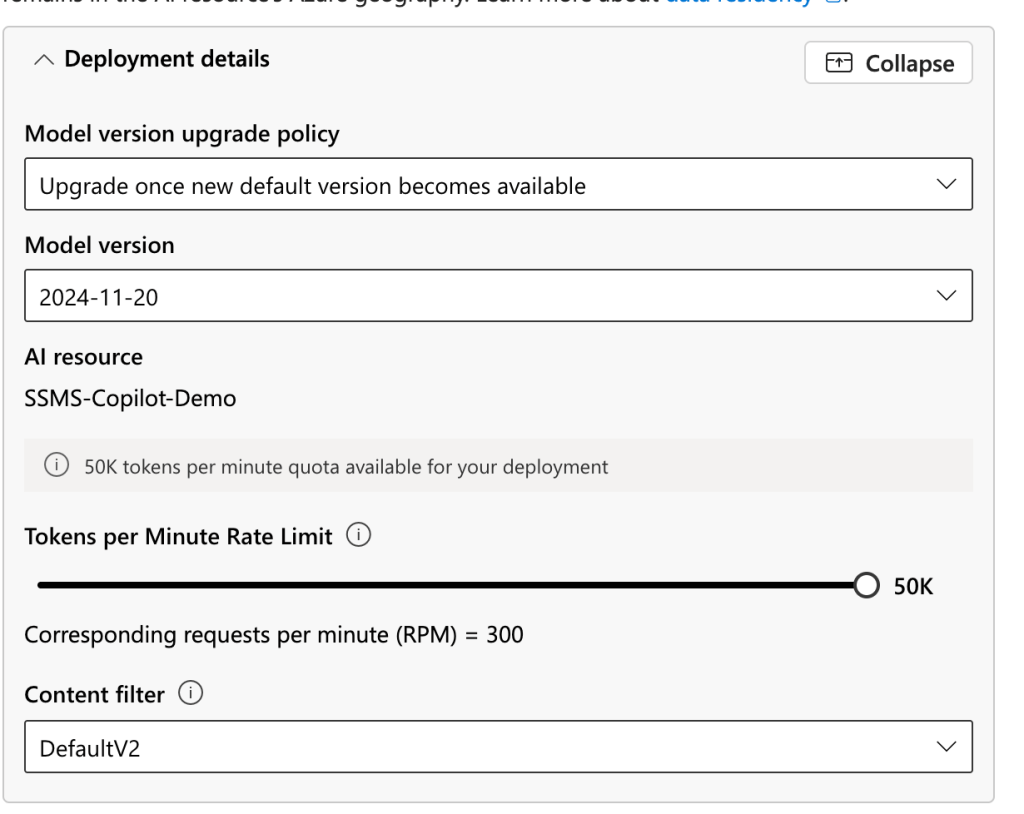
You can also customise other settings, from model version to rate limits and content filters. Again, you must check with your organisation to see how you want to handle this.
Deployment done.
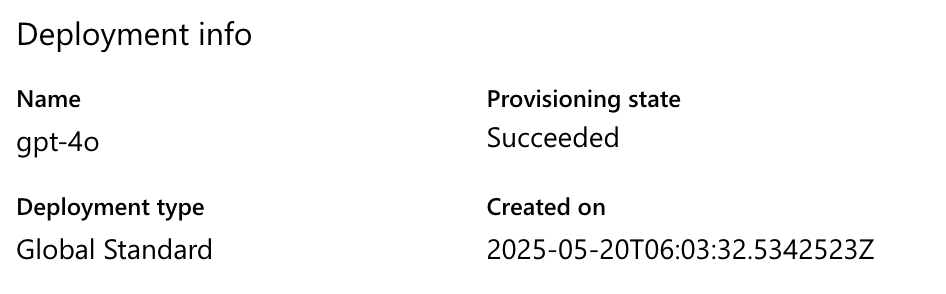
Cool. Now I’ve got my model, my service, and my new SSMS 21 all ready to go.
Let’s return to SSMS.
Tie it all together
Start SSMS and log in to your database.

When SSMS has started, you’ll find the Copilot icon in the main ribbon. You can click it to open a small dialogue window where you can enter information.

Now, you have to retrieve your endpoint URL, the deployment name and the API key.
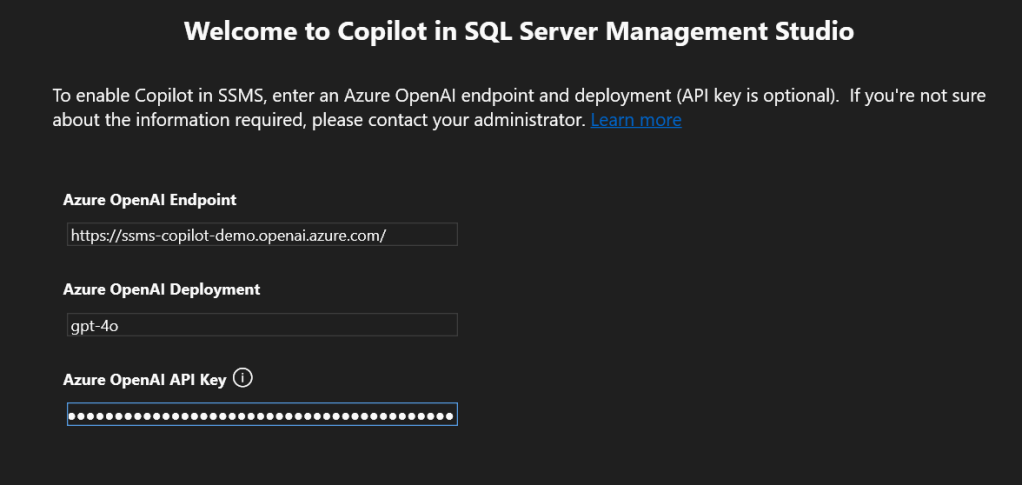
After you’ve entered this information, the Launch Copilot button will become active. If you click on it, SSMS will connect to the endpoint and, after verifying the information, show you the Copilot sidecar chat.
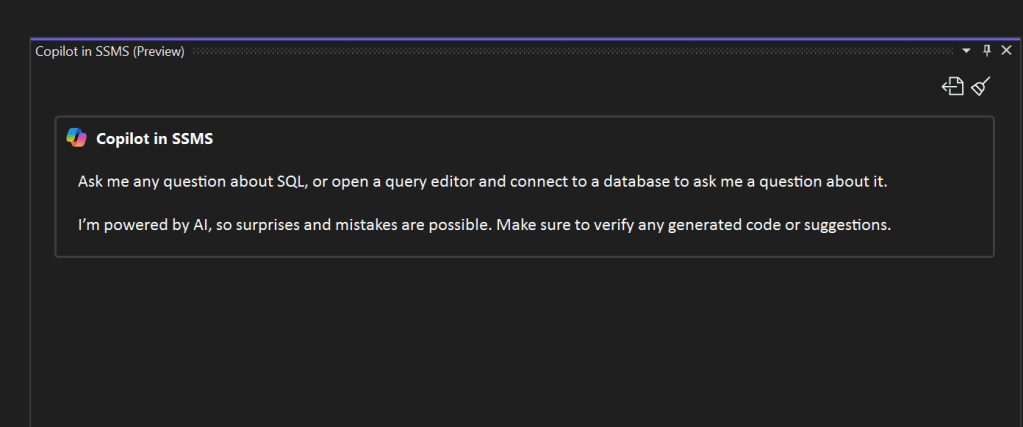
Start Copiloting
Now, you can start using Copilot for your SQL database jobs. You’re not obligated to use it, but it’s there for you to jump in and help.
Have fun and let me know what you think!

Have to see what that looks like for US Gov Cloud pricing and/or to see if someone’s already tried that. (or if it’s even available yet)
LikeLike
Are you even allowed to use it in a Gov environment?
LikeLike
I do not see the AI Assistance option in the workloads while installing SSMS, although I’m able to see the other 3. Any idea why?
LikeLike
did you download the SSMS 21 regular version? Because as far as I know, it’s not available in the preview version or installer.
LikeLike
I found Copilot for SSMS to be very lacking as compared to Copilot for Windows and Copilot for Visual Studio.
I started by trying to figure out how to ask it questions about a database. It said to use the @ sign to give a specific database context, but it could not tell me how or what that even meant. I discovered through trial and error that you have to BEGIN typing the @ sign before anything else, and then you will see a dropdown with all of your tabs. However, you cannot use it inline to query about two databases simultaneously, only one that is the current context.
I also found CoPilot cannot pull any data or you get a content restriction error. You can only pull schema information. So I thought I’ll give that a test, found two tables in my database, one called “people” and one called “countries”. I will see if it can find which tables link back to countries, this should be easy!
I asked which tables link to countries and it happily showed me the schema for countries. That’s all. Not exactly what I asked for, so I reworded the question and tried again. It then proceeded to show me an example of three tables that linked to countries, Table1, Table2, and Table3, along with an asterisk… and at the bottom it filled in the meaning of the asterisk which stated * Fill in your own table information
For you Fifth Element fans, “Thanks Ray”.
LikeLike