
Moving data
In part one of this series, I’ve managed to transfer my data from an on-premises SQL Server to an Azure SQL DB. This makes life somewhat easier for the next steps. The Azure SQL DB will play the role of my main production server. The one that will serve as source for my data-lake and my data-warehouse.
In this blog I will try and get the data from the production database and write it to both the data lake in parquet files and to the temp layer of my data warehouse. In this learning ADF blog series I’m building a data warehouse built on a dimensional model. For all intents and purposes some design choices are far fetched. My main purpose is to learn ADF, not to learn modelling.
Prerequisites
Before we begin, what do we need, besides the database. We need an Azure data factory resource and a storage account. When you create an adf resource, you can follow the gui or deploy it with the command line. You can find many tutorials. The storage account is no different, apart from one step. If you want to use the data lake, you have to enable the hierarchical namespace. This is incompatible with some other features, so make sure you select the right boxes. I haven’t included a screenshot because the user interface keeps changing and my screenshot will be outdated before the month is over.
Enough prerequisites, time to jump into the factory!

Connect to Git
When you open ADF, the first thing I noticed was the option to connect to a git repository. I hadn’t done this during the installation of ADF. Call me lazy. But, when you’re serious about code, you make sure you’re connected to a repository to keep track of the changes. ADF won’t do that for you, and when something breaks, it’s always nice to see who broke it. Not to blame, but to work together to fix it.


When you authenticate with you GitHub environment, you can configure the repository

Apply the changes according to your own liking and then, let’s author something. We’ve been delaying for long enough now.
Pipeline, the master object
Click on the icon on the left to start making cool stuff happen!
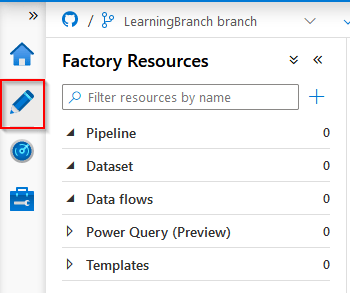
There are a few things to point out here. First, the pipeline is the major element. You start with a pipeline because that is the controlling instance of what you’re about to do. Inside the pipeline you can add all kinds of objects that will do the work for you. For those used to work with SAP Data Services, a pipeline can be compared to a Job.
The Dataset is a definition. It can be a source or sink (target). We’ll get to those later.
When you right-click on Pipeline, you get a number of options:
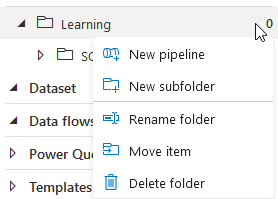
With these options, you can create pipelines and folders. I like some sort of structure in my work (my head is messy enough as it is) so I’ve created a main-folder called Learning and a subfolder called SQL to File and Parquet. This way I should be able to find code quickly.
When you click New pipeline, there’s a waterfall of options falling over you. Take a breath, it’s not all that bad.

The activities are grouped to prevent you from losing track. In my first pipeline, I’d like to move data. There’s a group for that called Move and transform.

Well, I can Copy data. That sounds good, I like to copy data. Let’s do that!
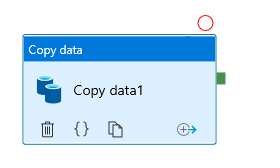
I can drag and drop the dopy data item to my ‘canvas’ if you like. It gets a default name and lots of red markings.
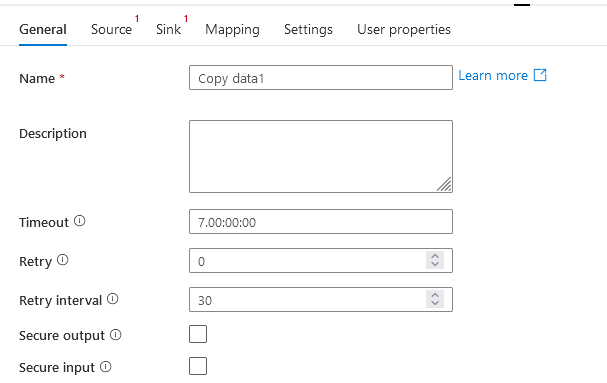
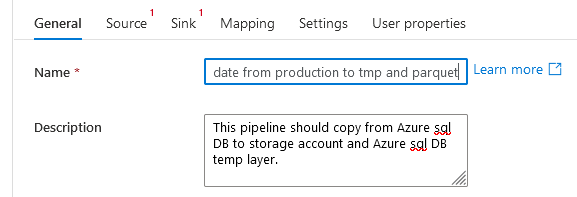
First, I’m going to change the name, because Copy data1 for now may be good enough, but when your factory starts to grow, who remembers that Copy data111342 is the brilliant one and Copy data111324 is the one that broke production. Exactly, only you. Rename your pipeline to something that makes sense and describe what it’s supposed to do. Because when it breaks, deeply into the night, you don’t want to start with figuring out what that pipeline should do when it doesn’t break and let’s you sleep.
Creating sources, sinks, datasets and linked services
Next, we’ve got two red marks at Source and Sink.
Let’s start by looking at the Source.
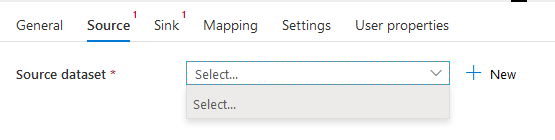
We need to add a dataset.
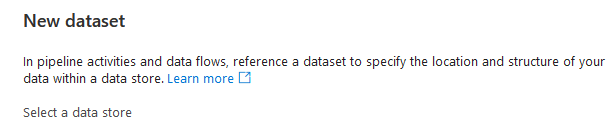
When you click on the new button, you will see a new screen with an explanation. A dataset refers to your data. It’s a kind of pointer; if you want data, go there.

There are four different SQL datasets available. There are differences between those. For instance, if you want to connect to SQL server, you need to install a self-hosted integration runtime on either the database server or a jumpbox that can connect to the on-premises instance. Right now, I need the Azure SQL Database
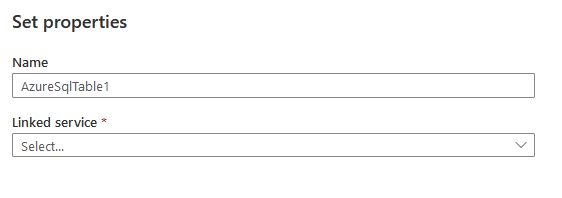
Ah, but this pointer off course needs something to point to, the linked service. This linked service is the portal to you data goodies. So let’s create a new one.

When you create a new linked service, the first thing you’ll notice is this
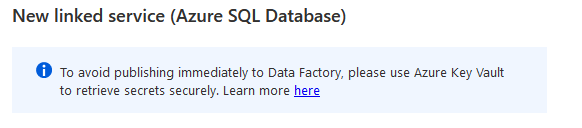
For this blogpost, I’ll enter the credentials manually, but when you’re running on a company environment, please use KeyVault. I’ll blog about this in a separate post.
As a small sidestep, make sure you configure your environment with private endpoints to make sure connections stay withing the Azure network. Anyway, I’ve configured my Linked Service:

After testing the connection and creating it, we switch back to the place where we can create our source:
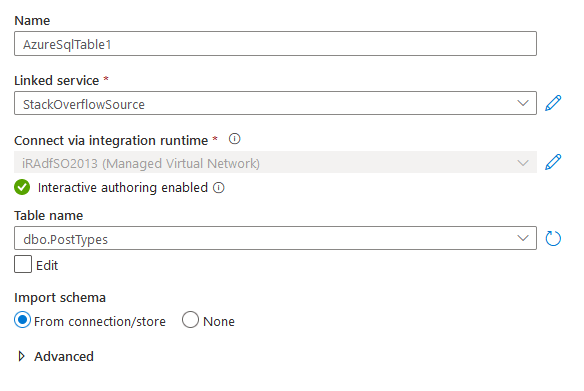
This time, I’m selecting the PostTypes table as my table I want to get the data from. But wait, does this mean I’ve got to create a dataset for every table? Because my source system has N tables! Ok, take a breath, in the next blog I’ll show you how to use parameters to avoid having to create a dataset for every source- or target table. For now to get to grips with the basics, we’ll just use one table.
My source definition:
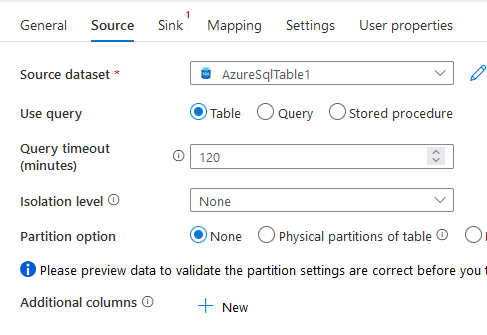
We can now preview the data:

Oh, I missed the button where you can preview your data? Apologies!

Ok cool, we can access the source data, now to store it somewhere. Because ADF is anything but a reporting tool. Let’s go to the sink.
I’m going to create a new sink, and I’m using Azure datalake storage as the main type.

There are now six types of file you can use. Because it’s time to join the cool kids, let’s go Parquet.
You can create the linked service in the same way you created your SQL linked service.

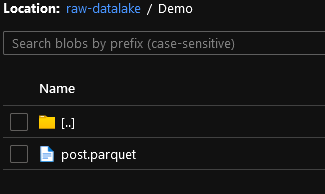
I’ve created my target with an explicit file path. My main ‘folder’ is called raw-datalake. Because that’s just what it is. I’m using a subfolder called Demo because, well this is a demo environment. And finally I’m telling ADF what to name my file.
Start the pipeline
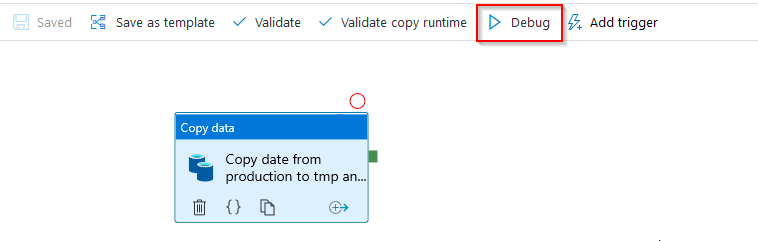
After saving all the changes, time to debug. There’s a button to start a debug run to see what happens
When you click debug, you’ll see this happen at the bottom of your screen:

When it finishes, hopefully this will show up

And in my datalake:
Cool. In this lengthy blog we managed to move data from an Azure SQL Database to a parquet file. Next up, using parameters to stop creating datasets for each table and each target (sink).
Thanks for reading and see you in the next one!
